3D Printing for Implants
We love 3D printing – it has totally transformed the way we practice dentistry! We mostly focus printing on Surgical Guides, Night Guards, and full-arch hybrid temporaries. Scroll down to learn more!
3D Printed Surgical Guides – and why we prefer single implants be guided
“Perfect placement comes from prior planning”
– Dr Fantaski
It may be a bit weird to quote yourself, but I couldn’t resist after coming up with a bit of alliteration to describe implants. Guided surgery is such a cool aspect of dentistry, and combines all aspects of technology, surgery, and esthetics to achieve ideal results. Implants can be placed either immediately after extractions, or in sites that have been without teeth for a long time — sometimes bone grafting is required in either case. But the biggest difference with implant placements is that they can be done ‘free hand’ with the surgeon eye-ing the space and attempting to parallel the implant to adjacent teeth, or ‘guided’ where the planning is done ahead of time, and the surgeon just follows the guide steps to place the implant.
“People want teeth, not implants”
Note my quote
The first question for any implant consultation is always “what is the goal”? What are we trying to achieve? Are we replacing a single tooth? A few teeth? An entire arch? Or just ‘pimping out’ an existing denture or partial?
Regardless of the answer to the first question, the next step is always the same. We have to design out the goal restorative outcome, and to do this we need to gather some data. We will take a CBCT digital 3D X-ray of your jaw bones, and take some optical impressions of your teeth or soft tissue. These are combined together to get a virtual model of your mouth and teeth. Using the latest software, we can then plan out the teeth we want to replace — just a few or all of them! Dr. Fantaski designs out these himself, trying to get an ideal esthetic and functional design for your teeth. Once the ideal layout for the teeth is evaluated, it is time to evaluate the surgical site.
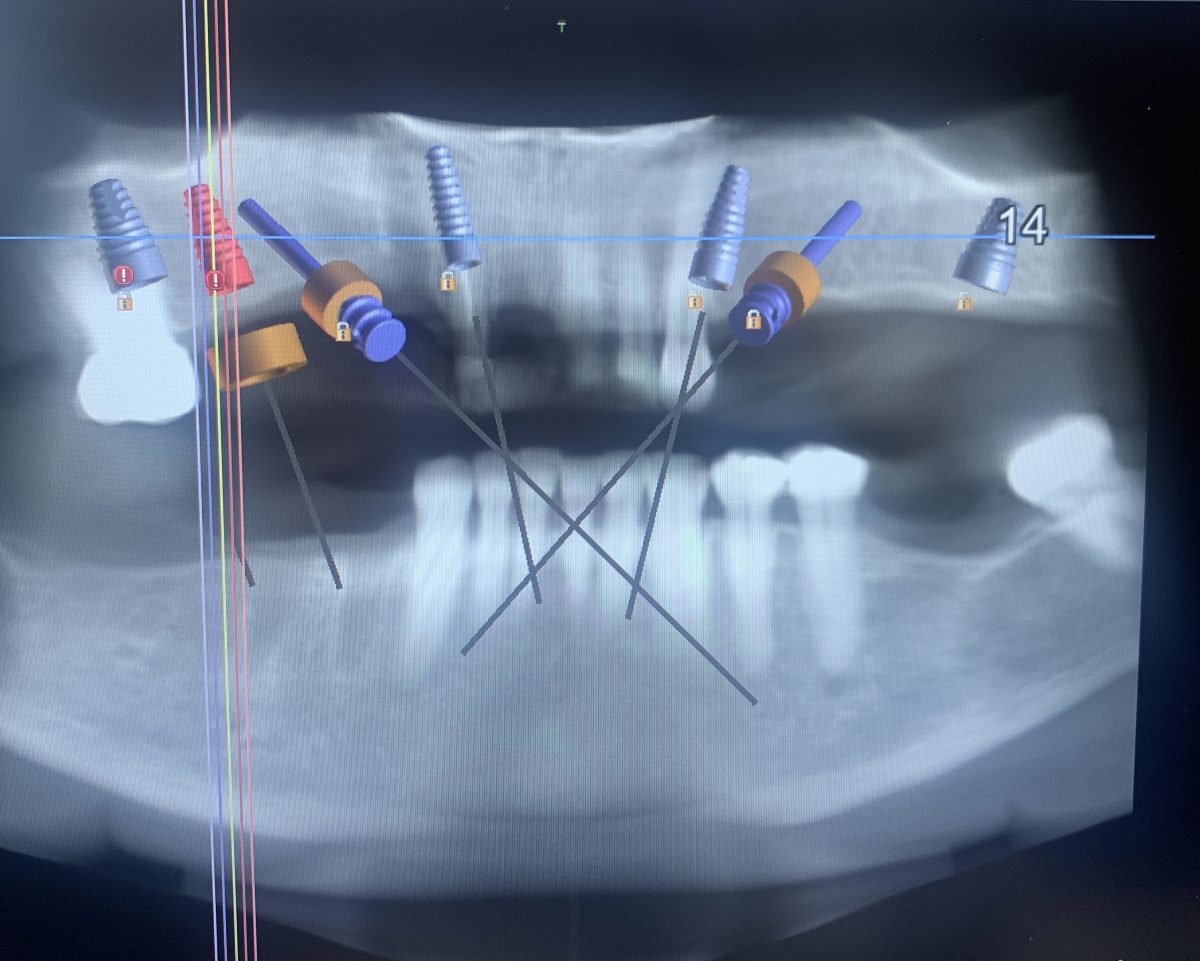
It's important to note, that implant placement should be restorative guided and not surgically guided... what this means is that the implant should be placed in a position that allows for optimal or acceptable restorative outcomes, not just where there is the most bone. If there isn't enough bone in a site for an acceptable restorative outcome, bone should be augmented using grafting prior to (or during) implant placement.
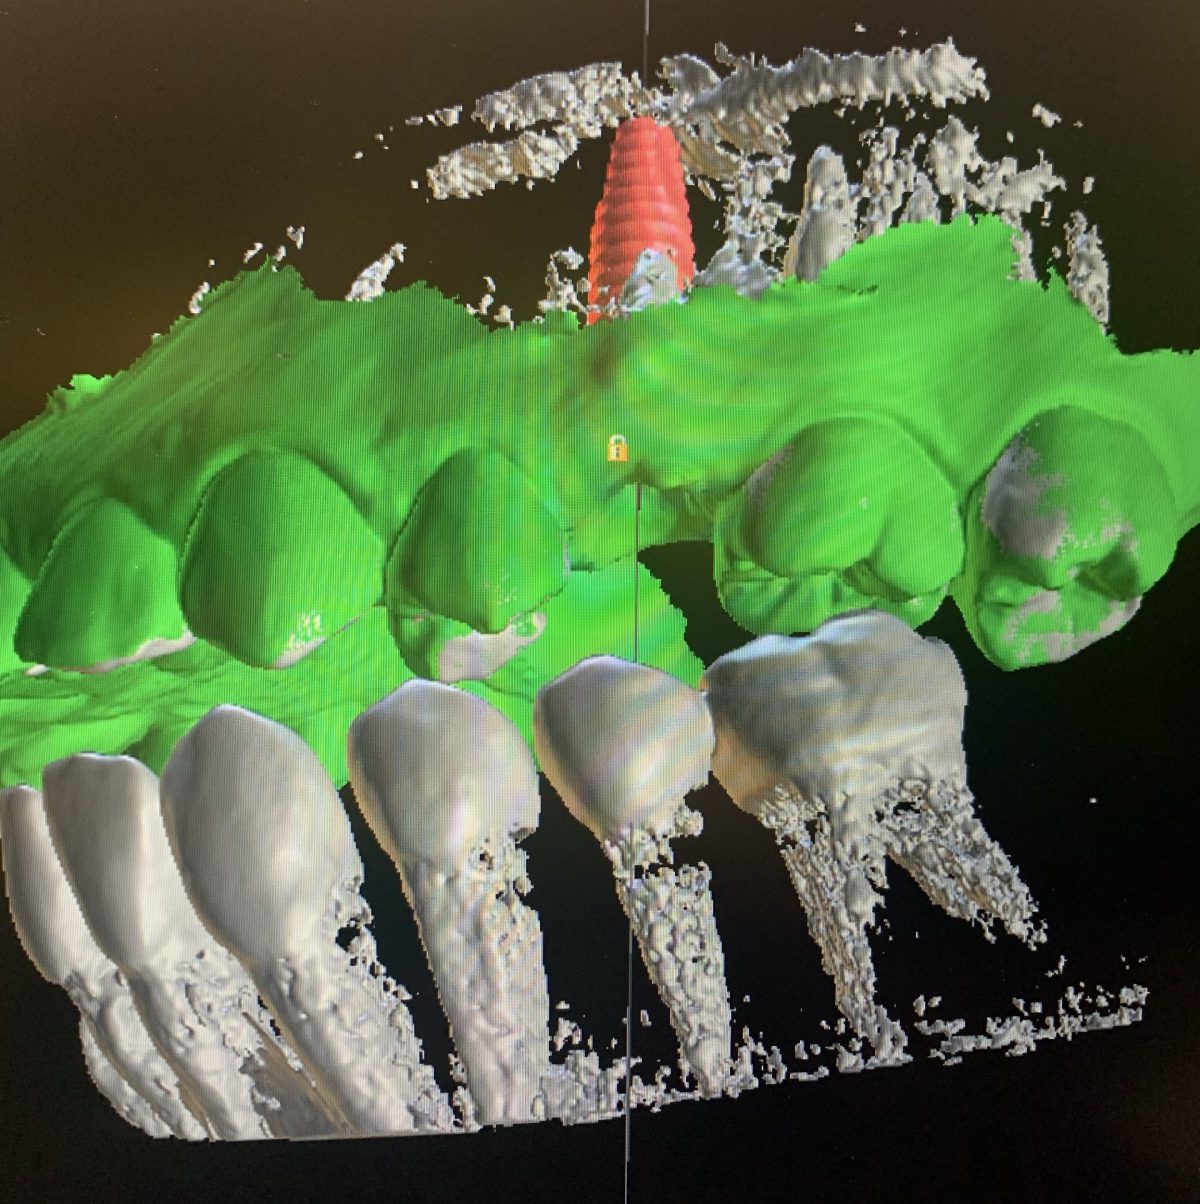
We use the CBCT X-ray to find the right size, length, and type of implant for your exact bone anatomy, based on the pre-planned (or ‘waxed’ as we often call it) restorative plan. Once the implant is selected, and its virtually ‘placed’ in the jawbone, the surgical guide is designed using state of the art software. By placing the implant on the computer, we essentially has X-Ray vision into your jaw bone and can avoid structures such as nerves, adjacent teeth, or sinuses to put the implant in the perfect position in the bone for optimal results.
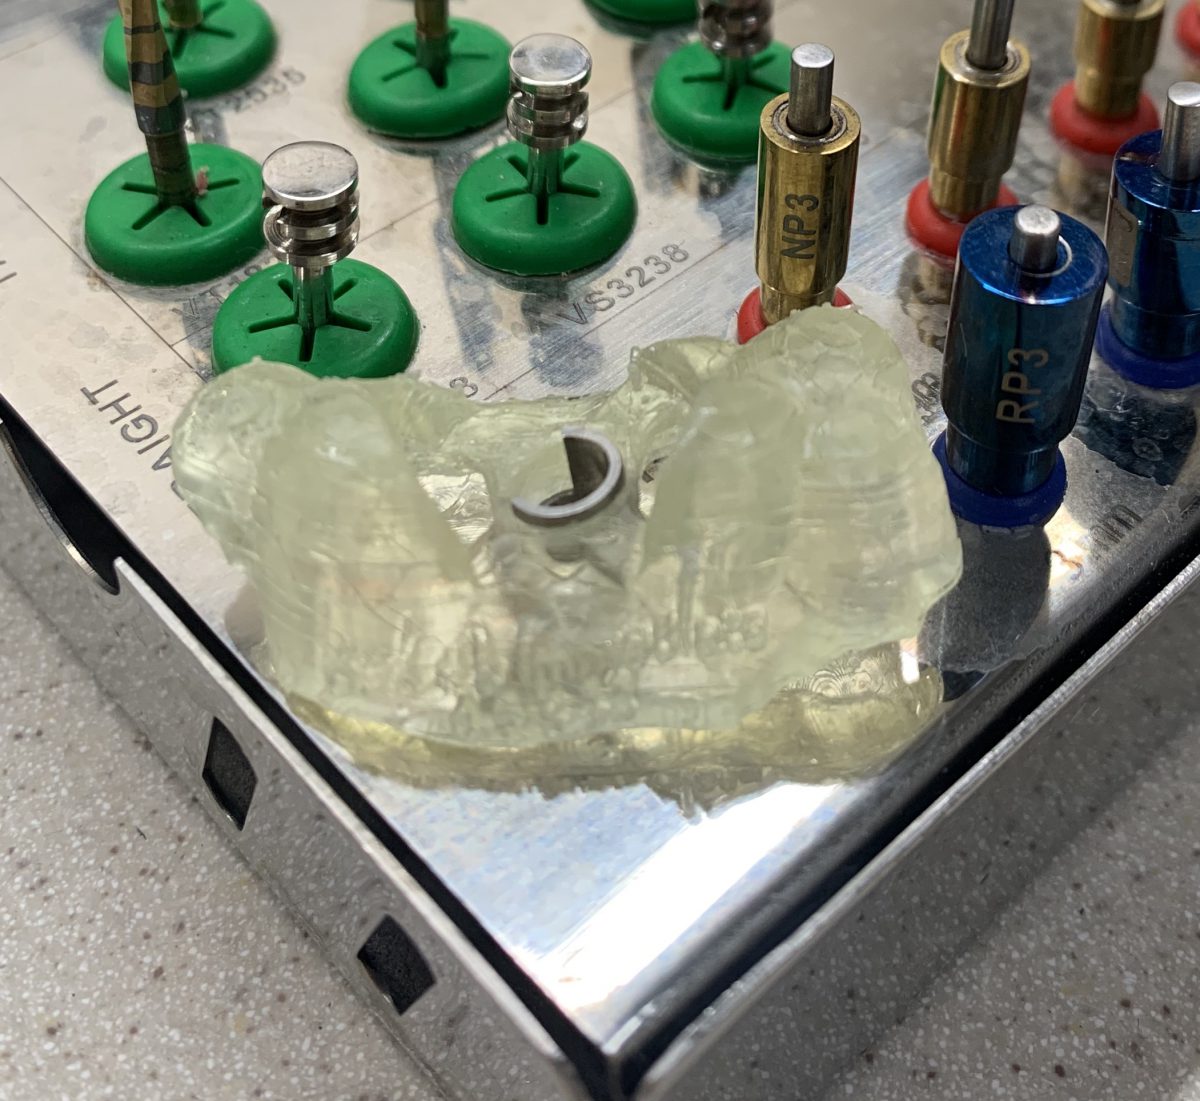
Once the placement is designed, the guide designed, it’s time to get our plan out of the computer and into the real world. We will 3D print out your surgical guide and sterilize it prior to your appointment.
Now, once the you arrive for the appointment, the process is easy. We will review the plan, try in the guide, and then the actual placement can be done in as few as 15 minuets, depending on the clinical situation. Your doctor starts by numbing the area, and then will begin with making a small cut in your gums to fit the implant. Then, a site in your bone is prepared to fit the implant, called the osteotomy. Once the site is prepared, we may take an x-ray to verify that our real world placement is the same as our digital placement was. Then, we will place the implant into the site, and torque it into place. The process does involve some ‘clicking’ noises as the wrench tightens the implant, which some people are surprised by! Once the implant is in, a final radiograph or xray is taken, and we will go over post-op instructions. The process is usually seamless and easy utilizing guided surgery, which can make the procedure take as little as 15 minuets!
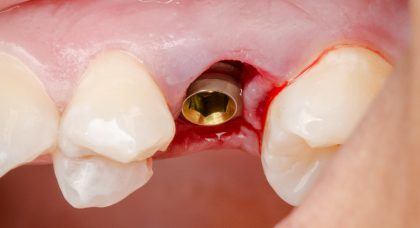
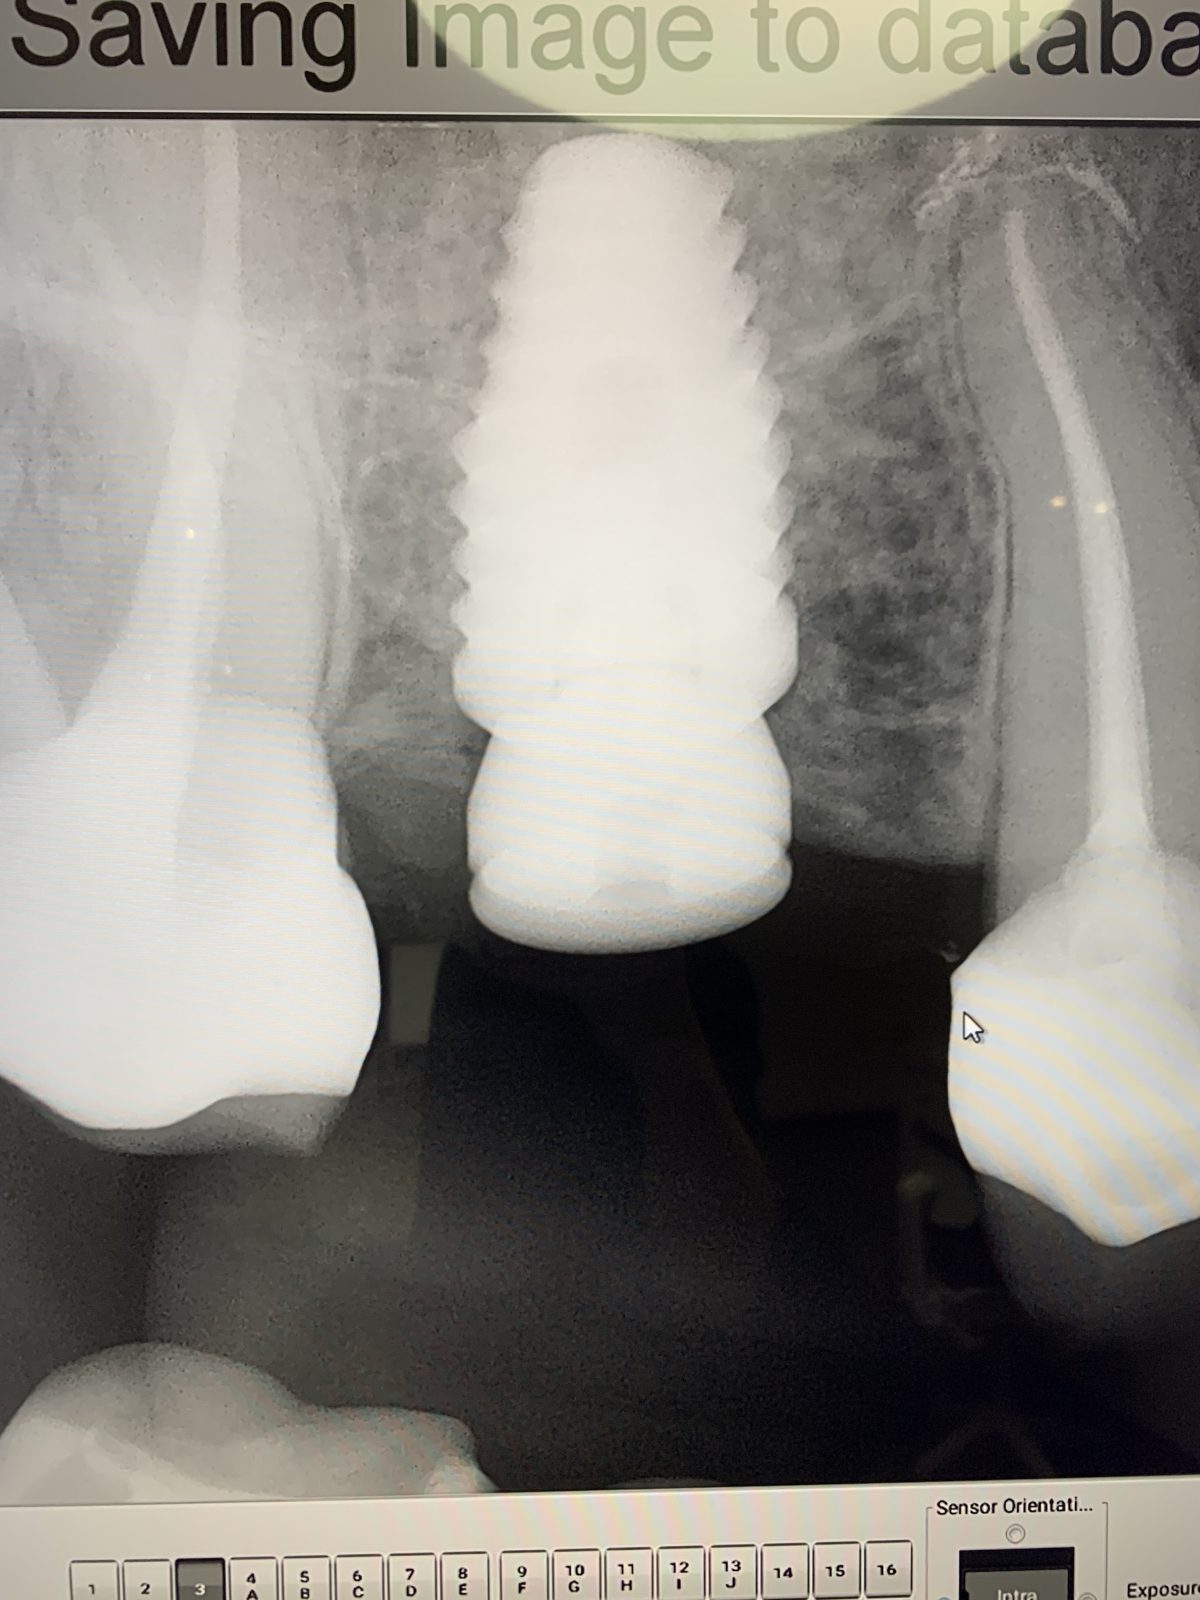
The above process details designing out a guide for a single implant, but the same processes, procedures, and protocols are used to design guides for full arch or hybrid restorations, which replace every tooth on an arch too.
3D Printing Teeth
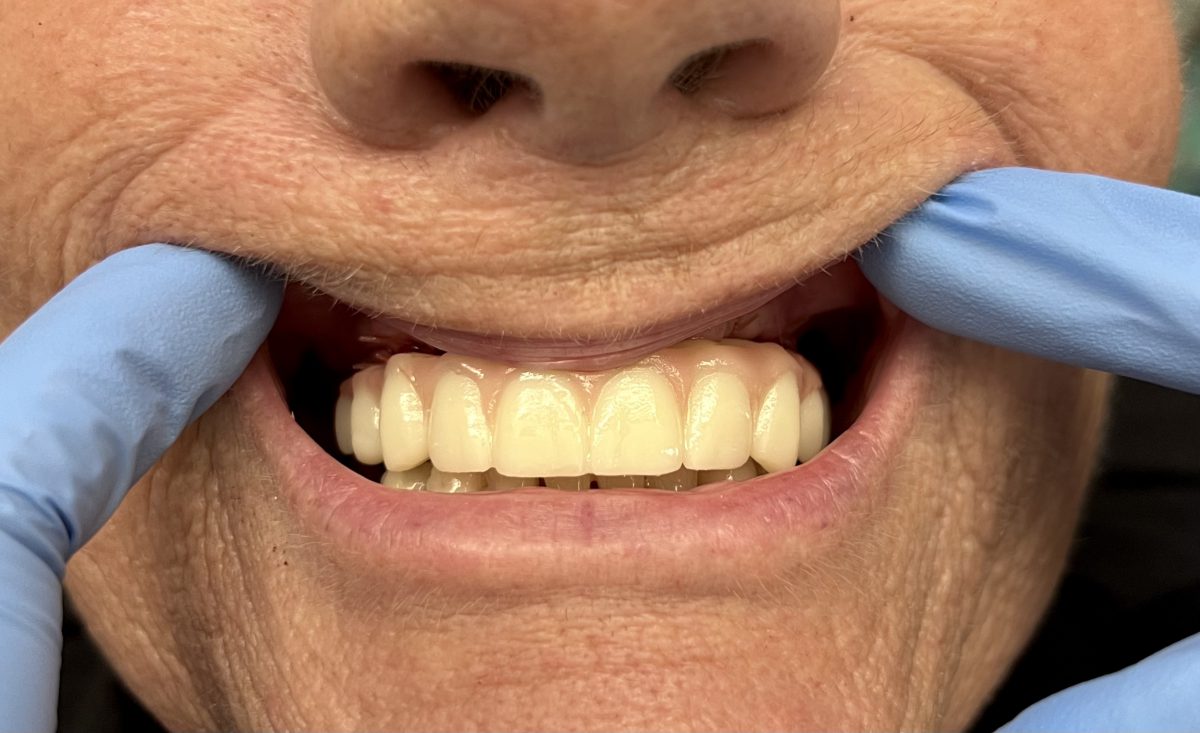
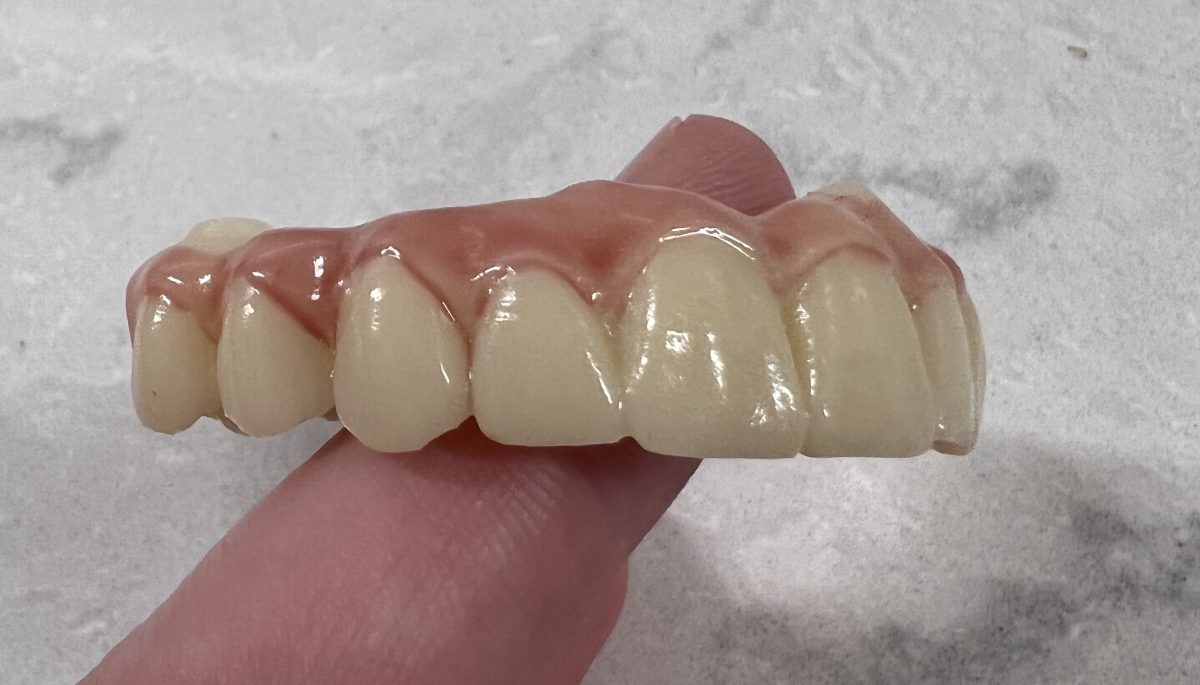
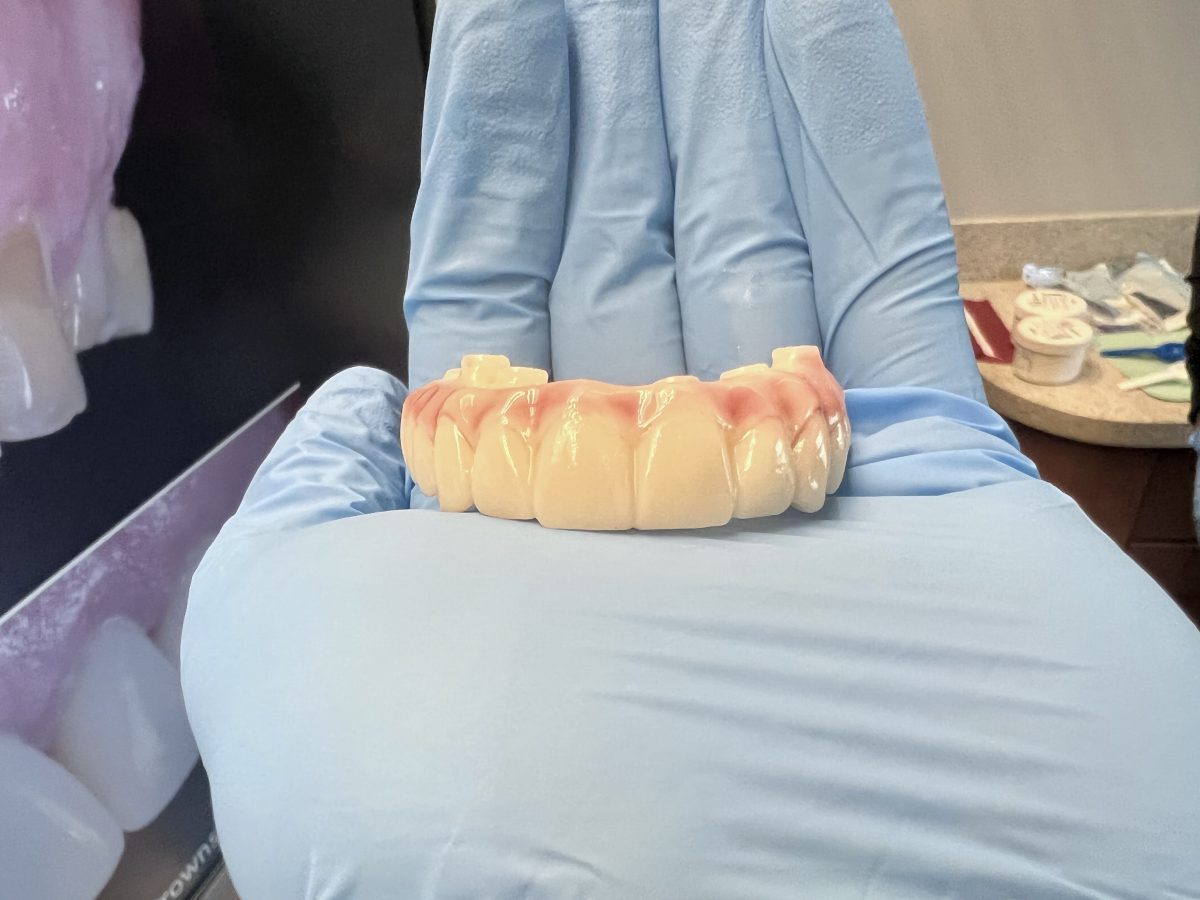
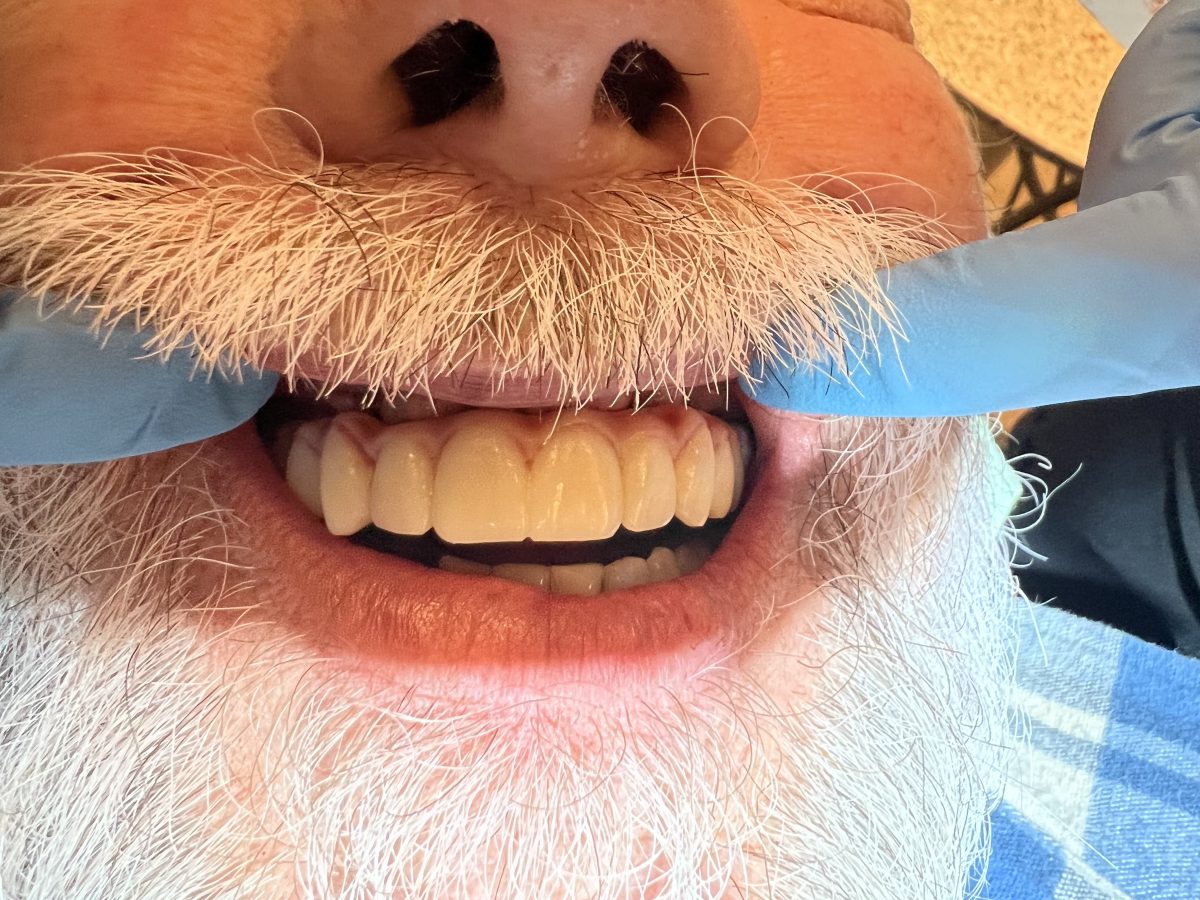
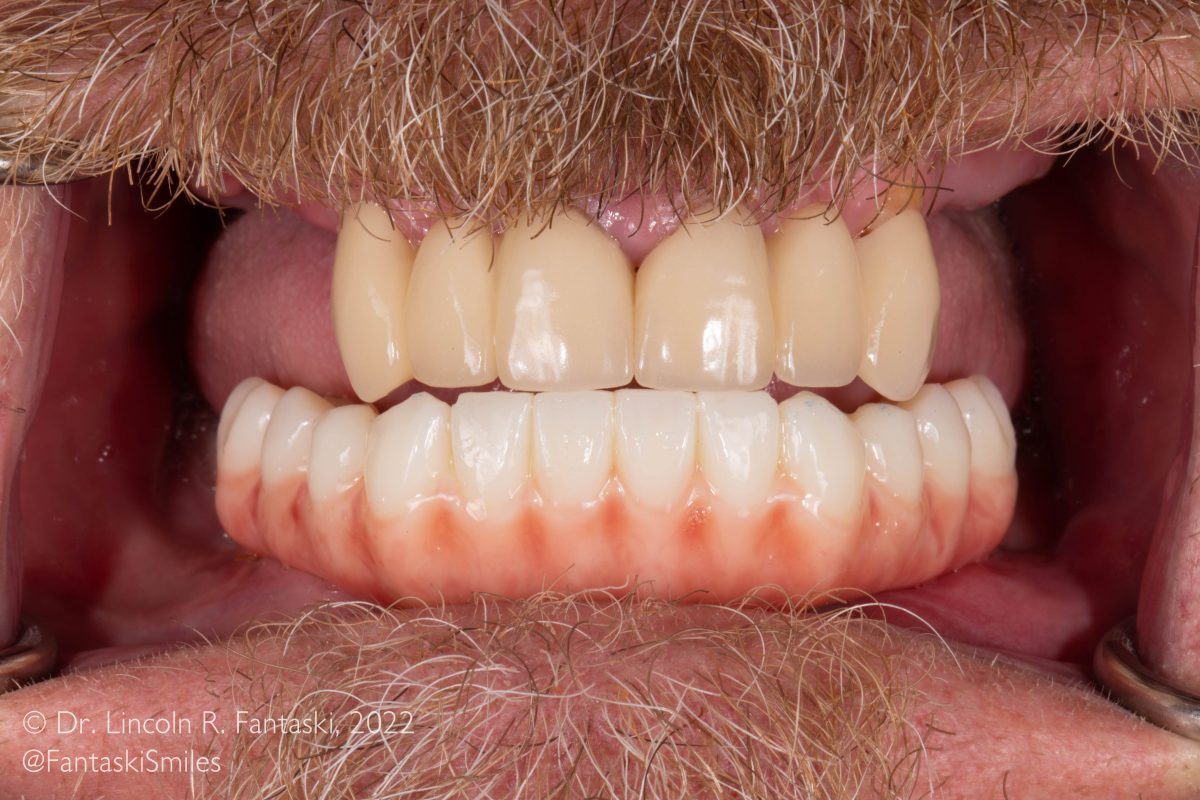
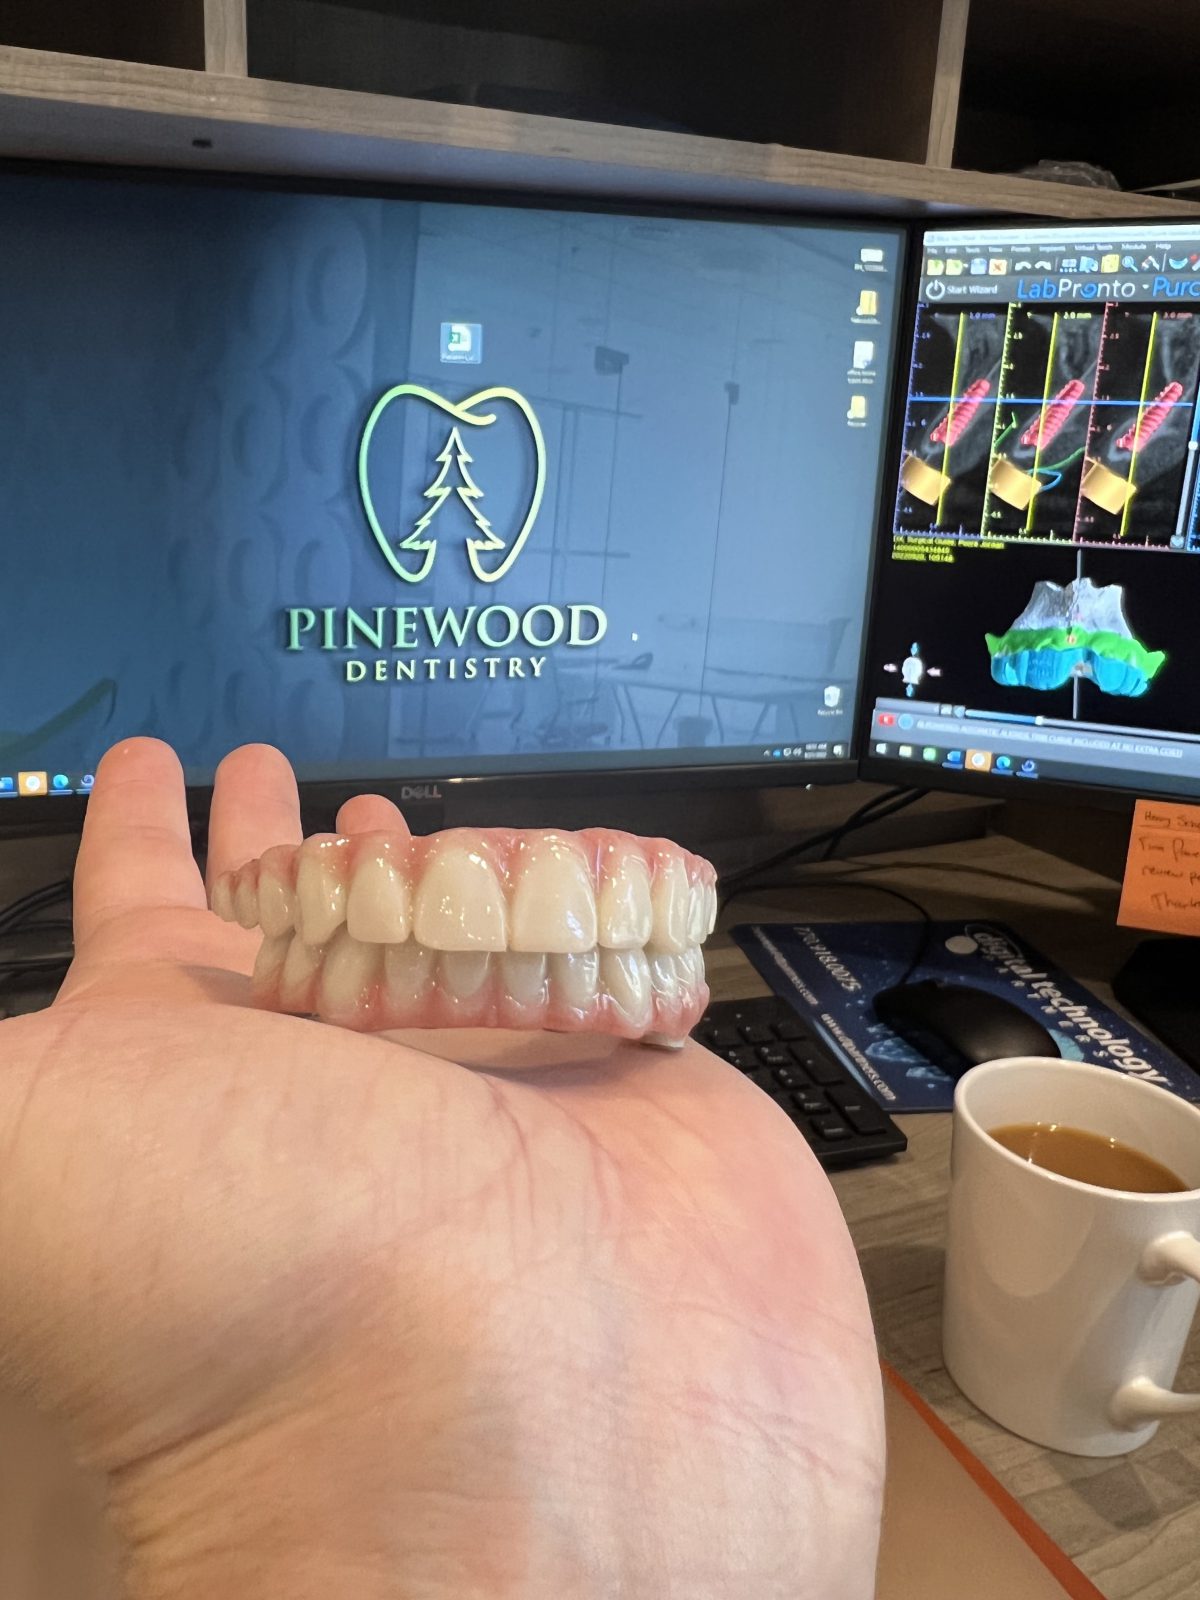
Technology moves at a fast rate, but one arena that has seen significant growth is 3D printing. As dentists, we started by printing models, and moved on to printing appliances, surgical guides, clear aligner orthodontics, to finally printing TEETH! We now 3D print, utilizing new ceramic resins, full arch restorations in record time!
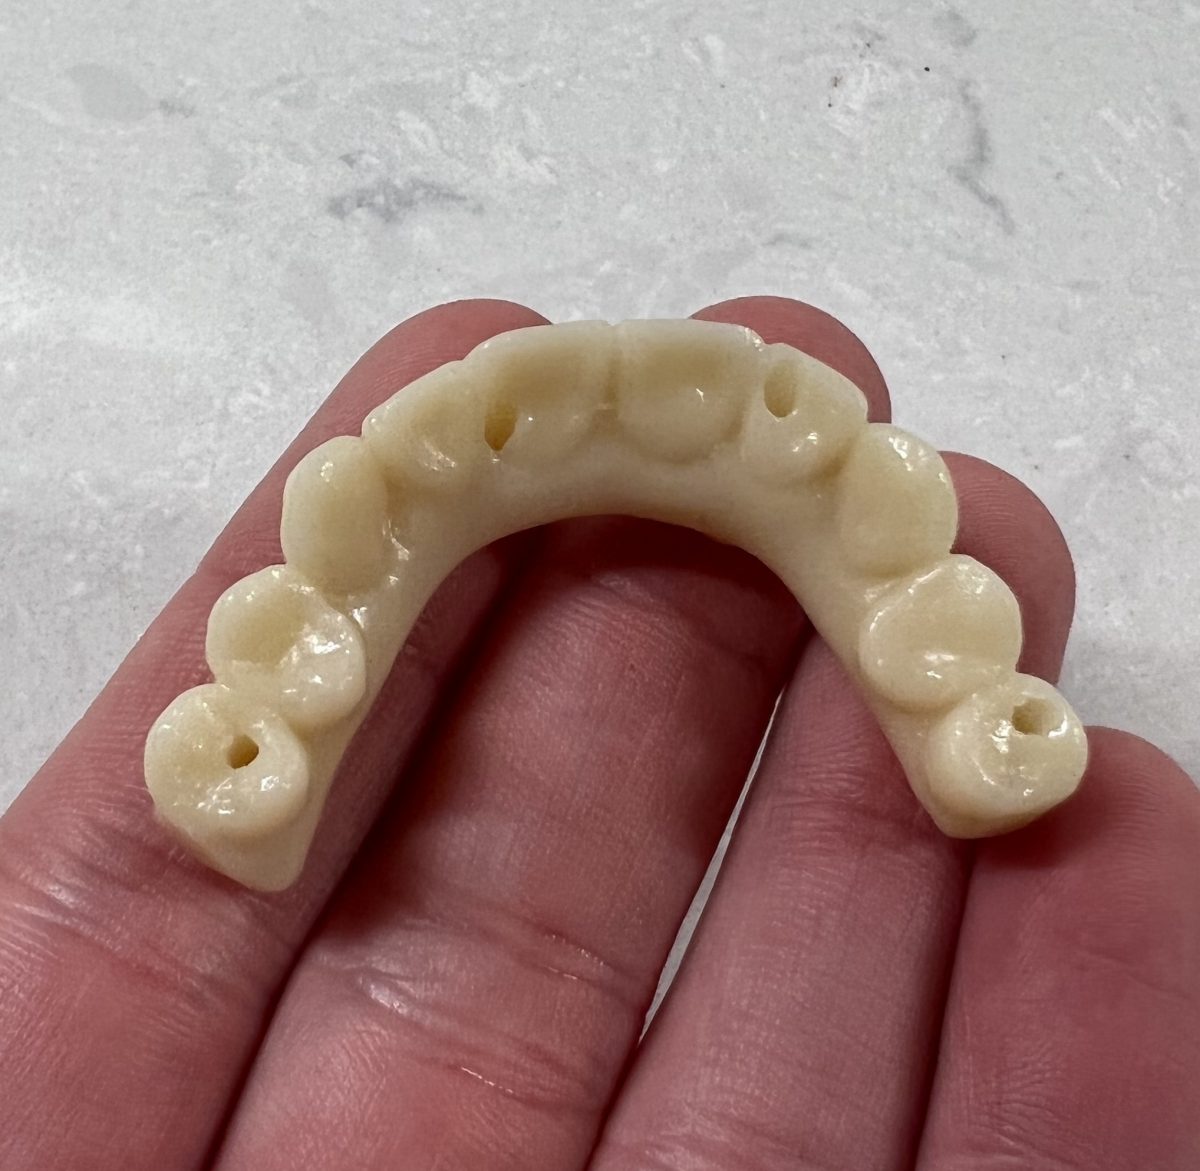
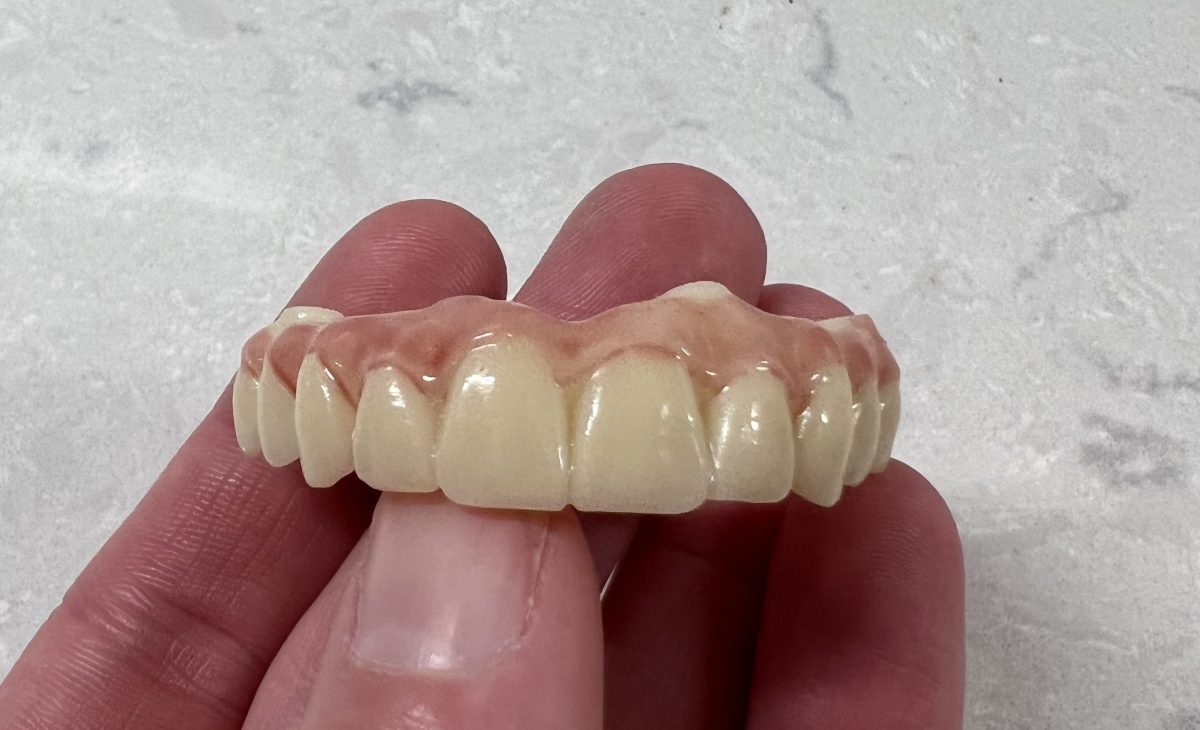
FAQ’s about Implants and Planning
How long does the 3D printing take?
It depends! For a set of models, we can print them in around 45 min. For a single surgical guide, its usually around 20 min. For a full arch temporary, usually about 25 minuets. It takes us some time to ‘finish’ them — they have to be washed to get rid of the excess resin, then post cured.
What type of material are the 3D printed materials made of?
Surgical guides are made of FDA approved surgical resin. Models are made of model resin, and the temporary hybrids are made of a ceramic-hybrid resin. It all comes in a bottle, and is incrementally UV light cured inside the 3D printers.
What happens if I dont have enough bone?
It happens — this is why we use CBCT xrays and pre-plan implant surgeries, and is also why we almost always recommend a bone graft when a tooth is extracted. Its so much harder and more expensive to add bone thats been lost that is to preserve the bone thats already there. But fear not, we can almost always add bone where it is deficient (in a horizontal direction, vertical is a different story…). Sometimes, we will need to do bone grafting and let the site heal prior to placing an implant, but sometimes it can be done at the same time. It just depends on the case. Sometimes we will also need to do a sinus life to get enough bone to support your implant, but that can usually be done at the same time as the implant placement too. We try to minimize the number of surgeries and do the grafting at the same time as placing the implant whenever possible to minimize the trauma to the area, the recovery period, and the amount of time without a tooth! Again, 3D printing and digital design are the keys here, we know what to expect going in and can plan for the best outcome by planning with the final outcome in mind.
You said people want teeth not implants, and you’re absolutely right! How long after the implant is placed can I get teeth!
For an entire arch, the SAME DAY! See our page about full-arch hybrids for more information!. These will be temporary restorations, and since the bone is still healing around the implants, we have to be careful and not over-load them — so soft foods only. We circle back and replace the printed temporary with a final restoration in 3 months thats strong enough to bite into an apple again!
For a single tooth, the answer is usually 3 month after placement for single teeth. Sometimes – depending the quality of the bone, the amount of grafting required, or other circumstances it may be longer (between 4 and 6 months). Often we don’t know this until the very end of the surgery, and your doctor will tell you how long it will be then.
In some rare cases, we are able to immediately load an implant upon placement day. This is for front teeth only, and only for the upper arch, and is really selected in a case by case basis, but can be an awesome option for the right case.
